What is a Task Group? #
A Task Group is a group of related features/tasks/ideas that you wish to group together on your project’s Product Path. Typically Task Groups are arranged chronologically to give your audience an idea of when to expect a group of updates, and in what order. On common method is to create Task Groups based on release. For example, your Task Groups might be titled “Recently Releases,” “In the Works,” and “Coming Later”. Then, tasks would be contained in these Task Groups based on their projected release. In the end it’s entirely up to you how you’d like to organize your Task Groups, and you can also see an example of how we setup our own Task Groups over on the official PathPro Product Path.
Step by Step: How Do I Create a Task Group? #
Below you’ll find a step by step walkthrough on how to create a Task Group along with an overview of each feature. Note that you may print these instructions out using the print icon to the right.
Note that by taking the product tour, you’ll also be walked through the process of creating your first Task Group, and then adding your first task to that Task Group. So, we highly suggest taking that tour if you’re new to PathPro.
1. Navigate to your Product Roadmap
You’ll first want to select the project you’d like to work on, wither from the Project Panel, or by selecting fit in the project dropdown at the top left of your admin area. Once you’ve selected the project, you’ll then click the “Roadmap” button:

2. Add New Task Group
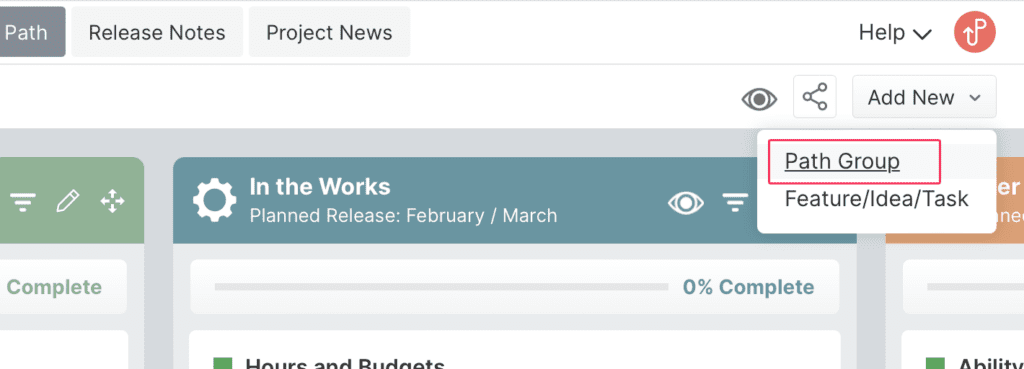
Once you’ve arrived at your project’s Product Path, select the “Add New” dropdown in the top right, and then select “Task Group” as shown below: 
3. Enter Task Group Settings
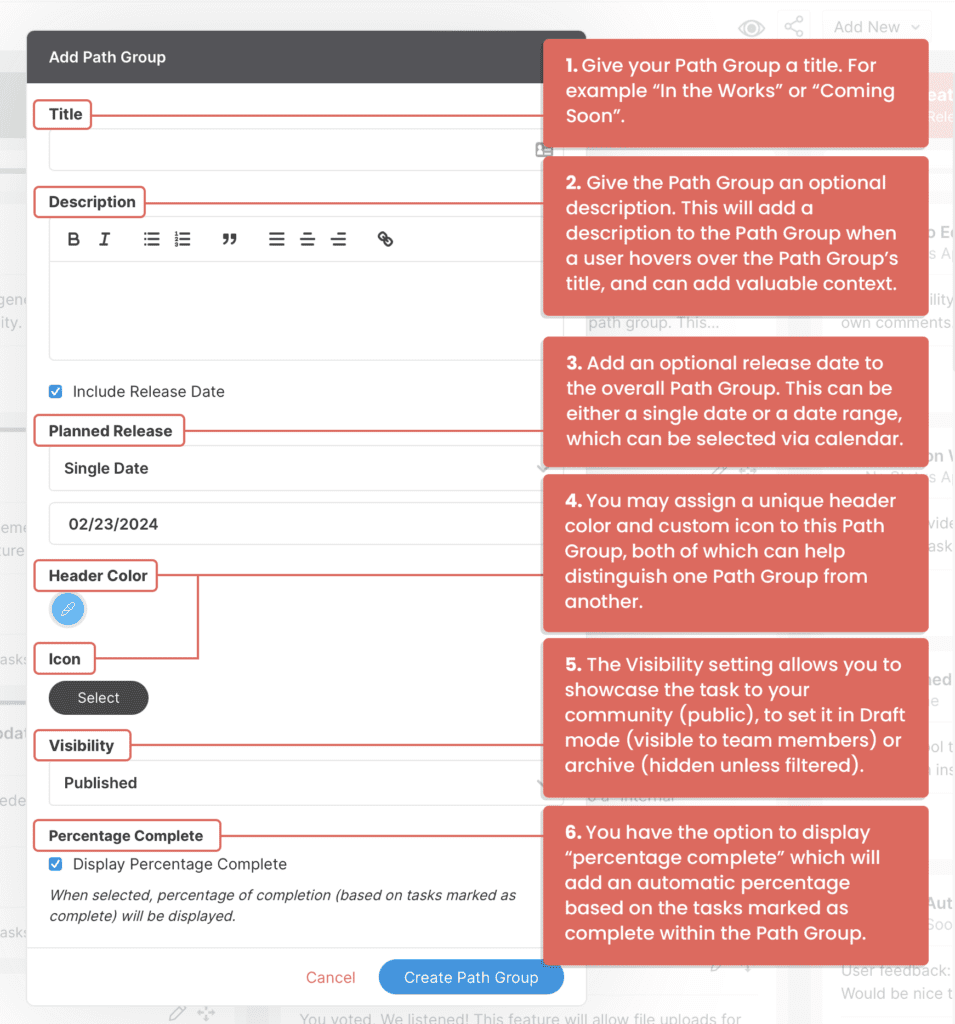
This will bring up the Task Group settings, which allows you to fill in all details related to the Task Group. Please see the image below for an explanation of each option. You’ll want to complete each entry to create your Task Group:

A note on Visibility: This setting allows you to control where this overall Task Group is “seen”. By default, this will be set to “Published” which will publish the Task Group both to your internal view (seen by you and team members) as well as the front-facing view (seen by community members on your public website). Additionally, you can later set an entire Task Group to ‘Archive” which will keep all tasks contained within, but will hide it from your workspace.
4. Save Task Group
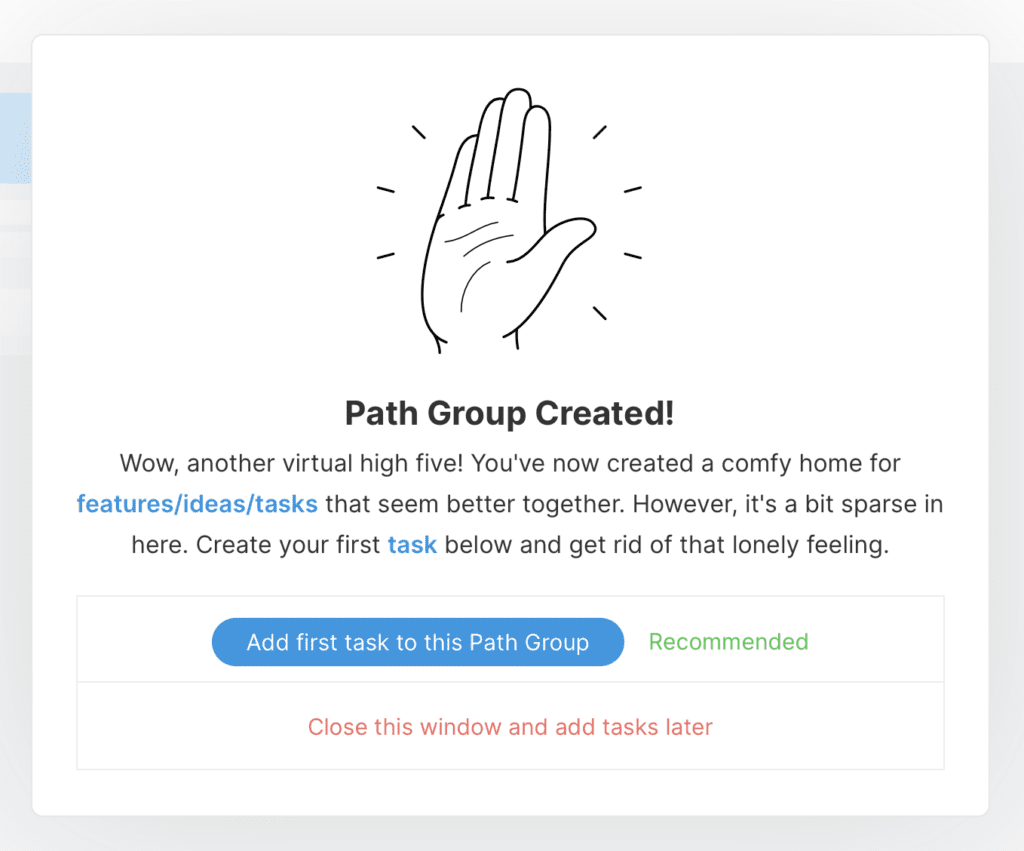
After you’ve completed all of the above settings, you’ll click the “Create Task Group” button. And that’s it! You’ve successfully created your first Task Group, and are all set to start adding tasks within that specific grouping.

Next Steps: Adding Tasks / Features to Task Groups #
For more info on adding tasks to a Task Group, please head over to this article.

